In today’s visually driven world, high-quality images are non-negotiable, especially for businesses operating online. Whether you’re an e-commerce giant, a professional photographer, or a marketing agency, presenting your products and visuals flawlessly is crucial. This is where the clipping path comes in – a powerful technique to achieve pixel-perfect image background removal and create stunning, isolated subjects.
But how exactly does this magic happen? If you’ve ever wondered about the intricate process behind those pristine product shots or perfectly cut-out models, you’ve come to the right place. This guide will demystify how clipping path works, from the fundamental tools to the precise steps involved.
What Exactly is a Clipping Path? The Foundation of Flawless Cutouts
At its core, a clipping path is a vector path (a closed shape made of lines and curves) drawn around a specific object in an image. Think of it like drawing a very precise, invisible outline with a digital pen. Once this path is created, everything outside of it can be completely removed, making the background transparent or allowing it to be replaced with a new one.
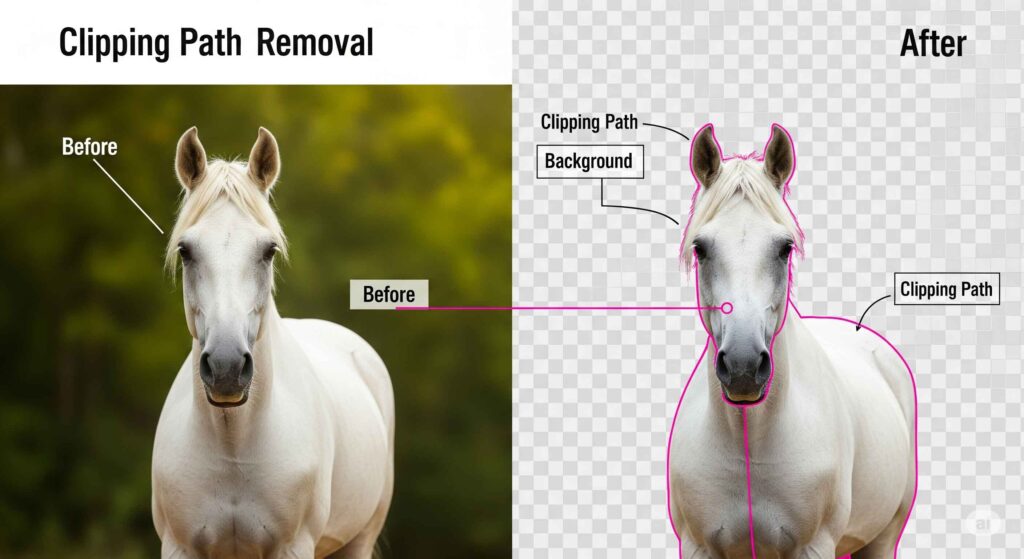
Its primary use is to separate the object from its background with unparalleled precision, ensuring clean, sharp edges that are impossible to achieve with automated tools alone. This makes it an indispensable technique for:
- E-commerce Product Photos: Achieving consistent white or transparent backgrounds for online stores.
- Catalog and Magazine Design: Integrating images seamlessly into layouts.
- Web Design: Creating versatile graphics for websites and banners.
- Photo Composition: Combining multiple elements from different images.
The Tool of Choice: Adobe Photoshop’s Pen Tool
While various software can handle image editing, Adobe Photoshop remains the industry standard for creating professional-grade clipping paths. And within Photoshop, the undisputed champion for this task is the Pen Tool.
Why the Pen Tool? Unlike other selection methods that rely on pixel contrast (like Magic Wand or Quick Selection), the Pen Tool creates vector paths. This means the selection is mathematical, not pixel-based, resulting in:
- Unrivaled Precision: Smooth, crisp edges, even on curved or intricate objects.
- Scalability: Vector paths can be scaled without any loss of quality or pixelation.
- Flexibility: Paths can be easily edited, adjusted, and saved within the image file.
A Step-by-Step Breakdown: How a Clipping Path is Created
Creating a clipping path is a meticulous process that demands a keen eye and steady hand. Here’s a detailed look at the steps a professional image editor takes
Step 1: Opening the Image in Photoshop
The process begins with importing the target image into Adobe Photoshop. For the best results, the image should be of high resolution with clear distinctions between the foreground object and its background. This allows for greater precision during the tracing process.
Step 2: Selecting the Pen Tool
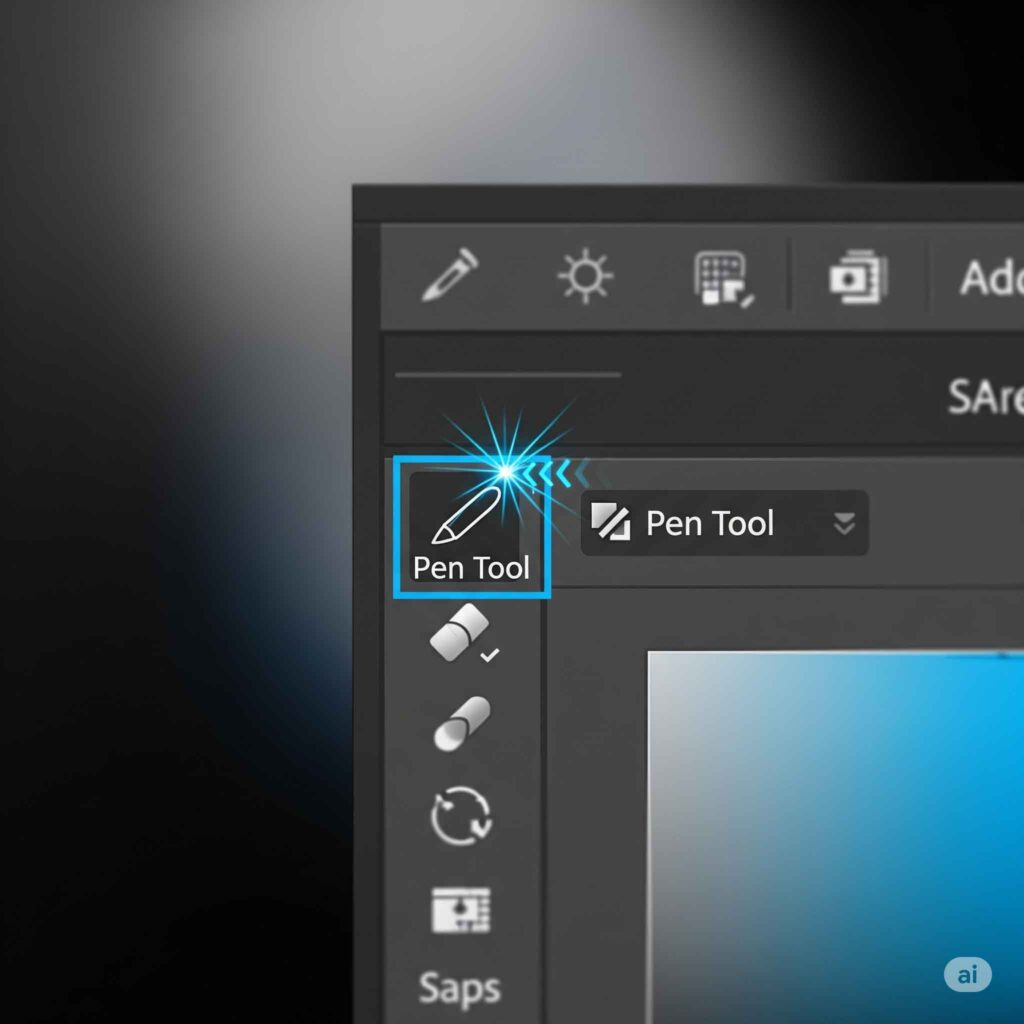
The editor activates the Pen Tool from Photoshop’s toolbar. Depending on the object’s complexity and the desired outcome, various Pen Tool options (like “Path” mode) are selected to ensure a proper vector path is created.
Step 3: Meticulously Tracing the Object
This is the most crucial and time-consuming step. The editor meticulously traces the outline of the object using the Pen Tool. This involves:
- Placing Anchor Points: Strategically clicking along the object’s edge to set “anchor points.”
- Drawing Bezier Curves: Dragging the mouse from anchor points to create smooth, precise curves that perfectly follow the object’s contours.
- Zooming In: Editors zoom in significantly (often 200-300% or more) to ensure every pixel edge is accurately captured, especially around intricate details like hair, fur, or delicate wires.
- Handling Intricacy: For highly complex shapes with many curves and corners, a greater number of anchor points and careful adjustments are required to maintain accuracy.
Step 4: Closing the Path
Once the entire object has been traced, the editor connects the last anchor point back to the very first one, effectively “closing” the loop. This creates a complete, enclosed vector path around the object.
Step 5: Converting the Path to a Selection or Mask
With the path closed, the next step is to use it to isolate the object:
- Converting to Selection: The path is converted into a selection. This creates a “marching ants” outline around the object.
- Applying as a Layer Mask: For non-destructive editing (highly recommended), the path is used to create a layer mask. This hides the background pixels without permanently deleting them, allowing for future adjustments.
- Direct Deletion: In some cases, the selection is used to directly delete the background, leaving the object on a transparent canvas.
Step 6: Refining Edges (Crucial for a Natural Look)
Even with the Pen Tool’s precision, edges, especially around soft or semi-transparent objects (like hair, fur, or translucent materials), might need further refinement. Tools like “Refine Edge” or manual brushing on the layer mask are used to:
- Smooth jagged lines.
- Remove any lingering background fringes.
- Ensure a natural blend with a new background.
Step 7: Saving the Image in the Appropriate Format
Finally, the processed image is saved. The choice of file format depends on its intended use and whether the clipping path needs to be preserved:
- TIFF (.tif): Often used for print, it can embed the clipping path and supports transparency.
- PSD (.psd): Photoshop’s native format, retaining all layers, masks, and paths for future editing.
- EPS (.eps): A vector format that can carry the clipping path.
- PNG (.png): Ideal for web use, as it supports a transparent background without loss of quality.
- JPEG (.jpg): If the image is meant to have a new, solid background, it can be saved as a JPEG.
Beyond the Basics: Types of Clipping Paths Based on Complexity
The intricacy of the object determines the complexity of the clipping path required:
- Basic Clipping Path: For objects with straight edges and simple curves (e.g., books, smartphones, boxes).
- Complex Clipping Path: Involves more curves, holes, and detailed edges (e.g., jewelry, bicycles, intricate furniture).
- Super Complex Clipping Path: Reserved for highly intricate objects with fuzzy edges, numerous curves, or fine details (e.g., human hair, fur, tangled wires, product shots with mesh).
The more complex the object, the more anchor points and time are required, which naturally affects the cost of the professional clipping path service.
Why Choose a Professional Clipping Path Service?
While understanding how clipping path works can be insightful, executing it perfectly is a different ball game. For most businesses and individuals, outsourcing to a professional clipping path service offers significant advantages:
- Unmatched Precision and Quality: Expert designers possess the skill and experience to deliver pixel-perfect cutouts, ensuring your images always look their best.
- Time-Saving: Creating precise clipping paths is time-consuming. Outsourcing frees up your valuable time to focus on core business activities.
- Consistency at Scale: If you have hundreds or thousands of images, professionals can maintain uniform quality and deliver them consistently.
- Cost-Effectiveness: Often, outsourcing is more economical than investing in software, training, and dedicating internal resources for bulk image editing.
- Faster Turnaround: Professional services are equipped to handle large volumes and meet tight deadlines.
Conclusion: Elevate Your Visuals with Precise Clipping Paths
The clipping path technique is fundamental to achieving clean, professional, and versatile images. By understanding how clipping path works, you gain appreciation for the meticulous process behind flawless image cutouts. From the precision of the Pen Tool to the final output in optimized file formats, every step is crucial for delivering high-quality visuals that capture attention.
Whether you’re looking to enhance your e-commerce product photos, streamline your design workflow, or simply achieve a pristine transparent background, leveraging professional clipping path services is an investment in your brand’s visual identity.
Ready to enhance your images with pixel-perfect precision? Don’t let imperfect backgrounds detract from your visuals.