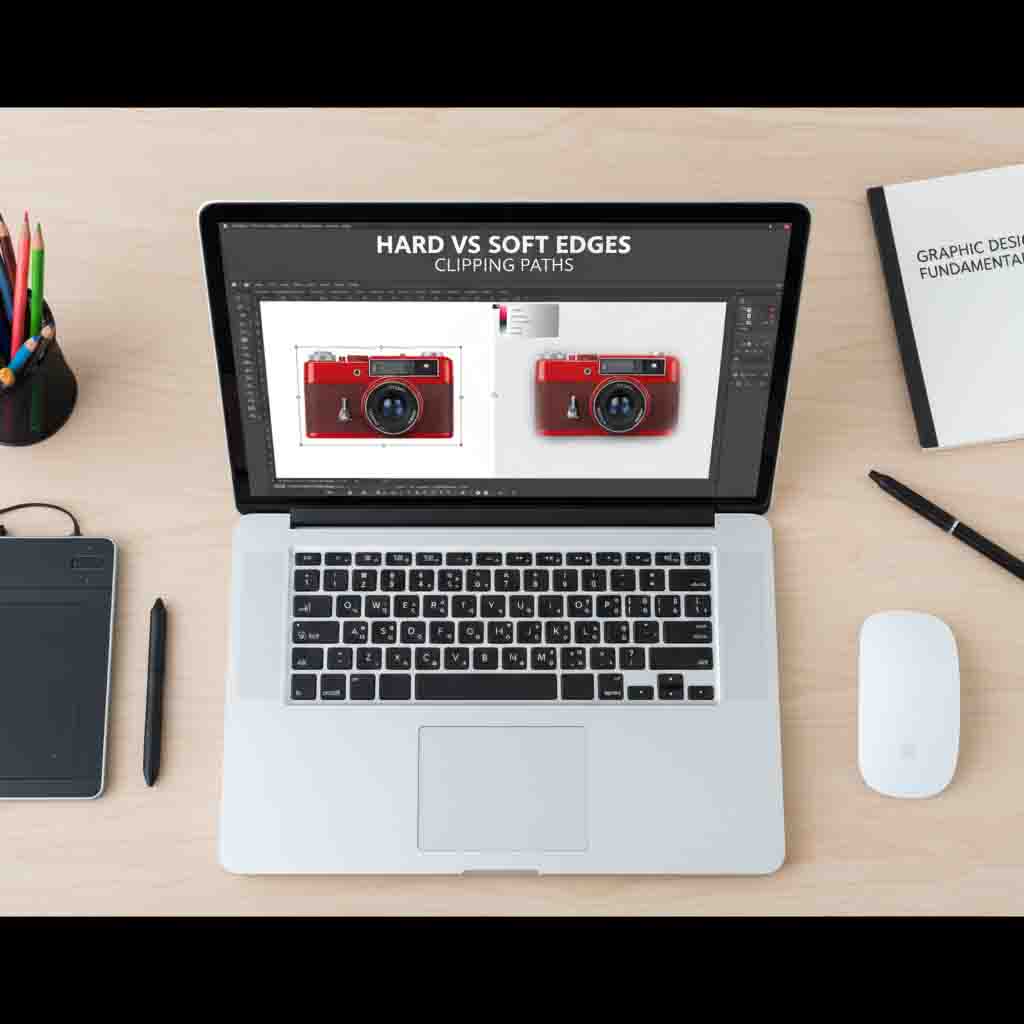
When editing product or portrait photos, the quality of your edges can make or break the image.
A clipping path helps you cut out an object cleanly — but the real magic lies in choosing between hard and soft edges.

Let’s break down the difference so your next project looks flawless.
Understanding Clipping Paths
A clipping path is a vector outline drawn around an object using tools like the Pen Tool in Photoshop.
It helps separate the object from its background.
In eCommerce, fashion, or product photography, clipping paths are essential to give images a professional finish.
Types of Edges in Clipping Paths
There are two main types of edges:
- Hard Edges – Sharp and well-defined.
- Soft Edges – Smooth and feathered.
Choosing the right one depends on your image and desired outcome.
What Are Hard Edges?
Hard edges create a clear, sharp boundary between the object and its background.
They’re perfect when you want every detail to pop — think metal, jewelry, or electronics.
When to Use Hard Edges
Use hard edges when your image requires precision and clarity.
✅ Ideal for:
- Product photos for online stores
- Jewelry and watches
- Electronics and packaging shots
- Items with clear boundaries
Examples of Hard Edge Usage
Imagine a diamond ring — every cut should reflect light sharply.
That’s when hard edges make your product stand out.
Similarly, in eCommerce photography, sharp outlines help your items look crisp on white backgrounds.
Advantages of Hard Edges
- Sharp, defined outlines
- Perfect for print and catalog photos
- Looks clean on white or transparent backgrounds
Hard edges ensure your product grabs attention instantly.
Disadvantages of Hard Edges
However, not every image benefits from them.
- Can look artificial in natural scenes
- May create harsh lines on skin or fabric
- Hard to blend with soft or blurry backgrounds
So, use them carefully when dealing with soft textures or natural settings.
What Are Soft Edges?
Soft edges use feathering to create a gentle transition between object and background.
Instead of a harsh line, the boundary looks naturally blended.
Think of hair strands, soft fabric, or clouds — they all need smooth edge treatment.
When to Use Soft Edges
Use soft edges when realism and blending matter most.
✅ Ideal for:
- Portrait and fashion photos
- Nature and lifestyle images
- Hair, fur, and transparent objects
They add a natural, seamless feel to the photo.
Advantages of Soft Edges
- More realistic blending
- Great for complex edges like hair
- Ideal for natural or soft backgrounds
They bring life to photos that would otherwise look too “cut out.”
Disadvantages of Soft Edges
- May lose sharpness
- Harder to use for detailed products
- Not suitable for every background
If overused, soft edges can make images look blurry or unfinished.
Hard vs Soft Edges: Key Differences
| Feature | Hard Edges | Soft Edges |
|---|---|---|
| Sharpness | Very sharp | Smooth and blended |
| Use Case | Product, Jewelry | Portrait, Lifestyle |
| Realism | Artificial in some cases | Natural and realistic |
| Editing Complexity | Easier | Requires feathering or masking |
| Output Type | Catalog, eCommerce | Fashion, Print Media |
How to Choose Between Hard and Soft Edges
Here’s a simple rule:
- Go hard for precision.
- Go soft for realism.
But balance is key.
If your image contains both metallic objects and fabric, use a hybrid approach — hard for the metal, soft for the cloth.
Consider:
- Image type – product vs portrait
- Background style – solid vs natural
- Client needs – online store vs editorial
Professional Tips for Clipping Path Editors
- Zoom in while editing — small edge flaws can ruin the photo.
- Use Layer Masks for flexible adjustments.
- Feather edges by 0.5–2px for soft transitions.
- Combine paths and masks for hybrid results.
- Check against multiple backgrounds to ensure consistency.
A great editor knows how to make the edges invisible — that’s the true art.
Conclusion
Choosing between hard and soft edges in clipping paths is not just technical — it’s creative.
Hard edges give clarity and focus, while soft edges bring warmth and realism.
The best editors know when to switch between the two to create images that feel professional, natural, and appealing.
Master both, and your photo editing skills will always stand out.
FAQ
1. What is the best edge for eCommerce photos?
Hard edges work best since they give products a clean, defined look that stands out on white backgrounds.
2. Can I mix hard and soft edges?
Yes! Professionals often blend both for realistic yet sharp results — especially with complex images.
3. How do professionals handle soft edges?
They use layer masks and feathering tools to keep transitions smooth without losing detail.
4. Which tools are best for clipping paths?
The Pen Tool in Adobe Photoshop is the gold standard, but you can also use layer masks for soft edge adjustments.
5. What happens if I choose the wrong edge type?
The image may look unnatural — either too harsh or too blurry. Always match the edge type to your subject and purpose.