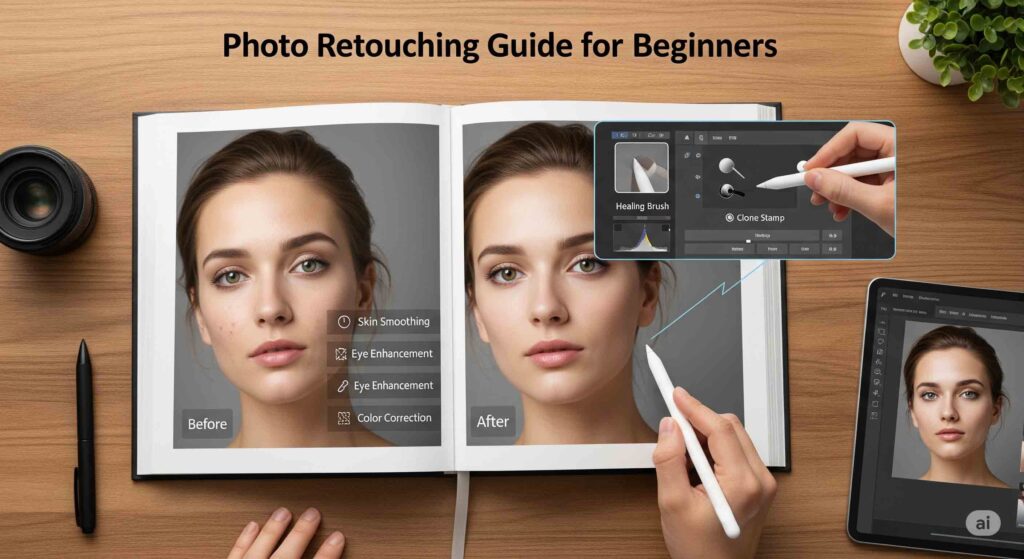
Have you ever taken a photo that felt almost perfect, but was let down by a few small details? Perhaps a distracting object in the background, a minor skin blemish, or colors that just don’t pop? That’s where photo retouching comes in. It’s the secret behind stunning images, making good photos great and great photos unforgettable.
For beginners, the world of photo editing can seem overwhelming. But don’t worry—this guide will break down what photo retouching is, why it’s so important, and how you can start your journey with confidence.
What Exactly is Photo Retouching?
In simple terms, photo retouching is the process of making subtle, detailed changes to an image to improve its overall appearance. While photo editing focuses on broad adjustments, retouching is about fixing imperfections and enhancing specific areas.
Think of it as digital makeup for your photos. You’re not changing the fundamental image, but rather cleaning it up, smoothing out flaws, and highlighting the best parts. Historically, this was done in a darkroom with chemicals and brushes, but today, we have powerful software like Adobe Photoshop that makes the process faster and more precise.
The Importance of Photo Retouching
Why is retouching so important? It’s all about storytelling and perception.
- Professional Photography: In fashion, beauty, and product photography, retouching is essential. It ensures models look flawless, clothing colors are accurate, and products appear clean and enticing. This attention to detail can be the difference between a high-quality brand image and an amateur one.
- Personal Use: On a personal level, retouching can help preserve cherished memories. You can remove a distracting person from the background of a family photo or restore an old, faded picture of a grandparent. It allows you to present your best self, whether on social media or in a printed album.
Photo Retouching vs. Photo Editing: What’s the Difference?
This is a common point of confusion for beginners. While the terms are often used interchangeably, they refer to different parts of the post-processing workflow.
- Photo Editing is a global process. This includes basic adjustments like:
- Cropping and straightening the image.
- Adjusting brightness, contrast, and saturation.
- Applying a filter or preset.
- Photo Retouching is a localized, detailed process. This involves more specific, surgical-style work:
- Blemish removal and skin smoothing.
- Removing distractions like power lines or background clutter.
- Whitening teeth or brightening eyes.
- Correcting specific color casts on a person’s face.
In short, editing is the foundation; retouching is the finishing touch.
Essential Software and Tools for Beginners
To get started, you’ll need the right tools. Here are the top software choices:
- Adobe Photoshop: This is the industry standard for a reason. It offers a vast array of tools specifically for detailed retouching, like the Spot Healing Brush, Clone Stamp, and Frequency Separation.
- Adobe Lightroom: While primarily for editing, Lightroom is excellent for basic retouching tasks like blemish removal and local adjustments. It’s often used in combination with Photoshop.
- Free Alternatives: If you’re not ready to invest in Adobe products, free software like GIMP and mobile apps like Snapseed or VSCO offer many basic retouching features.
Basic Photo Retouching Techniques to Start With
Ready to try it yourself? Here are some simple techniques that can make a big difference:
- Blemish and Spot Removal: Use a tool like Photoshop’s Spot Healing Brush to quickly click on unwanted spots, and the software will intelligently blend them away.
- Teeth Whitening: Select the teeth and use a brush to slightly increase the brightness and decrease the saturation. Be subtle—you want natural-looking results, not glowing white teeth.
- Basic Skin Smoothing: Techniques like using a Gaussian Blur on a duplicated layer with a mask can create a soft, even skin tone without making it look artificial.
- Cloning: The Clone Stamp tool lets you sample a part of your image and paint it over another. This is perfect for removing larger distractions or filling in gaps.
A Step-by-Step Workflow for a Successful Retouch
To ensure a smooth process, follow this simple workflow:
- Analyze the Image: Before you begin, identify what needs to be fixed. What are the key imperfections?
- Make Global Adjustments: Start with basic editing in Lightroom or Camera Raw. Adjust exposure, white balance, and contrast.
- Focus on Local Details: Move to a detailed program like Photoshop to tackle blemishes, skin smoothing, and distracting objects.
- Final Touches: Make any final color or sharpness adjustments and ensure your image looks natural.
- Export: Save your retouched image in the correct format for its intended use (e.g., JPEG for web, TIFF for printing).
Conclusion
Photo retouching is a powerful skill that can transform your images from good to stunning. By understanding the core principles, you can start with basic techniques and gradually build your expertise.
Remember, the goal of retouching is to enhance, not to deceive. The best retouching is often the kind you don’t even notice. Now that you have the fundamentals, are you ready to start your journey?
Let us know what you’d like to learn next in the comments below!
4 Responses